Over the years I’ve lost count of the amount of people that have emailed me to say that they’re super keen to get started with Amazon FBA and that they hope to be selling within a few short months.
But the reality is that the majority of the people emailing me quickly lose interest and don’t even manage to complete the first few basic tasks before giving up. That’s not only because they lack the right direction and guidance but also because they don’t know enough about the process to confidently invest their money into a product to sell.
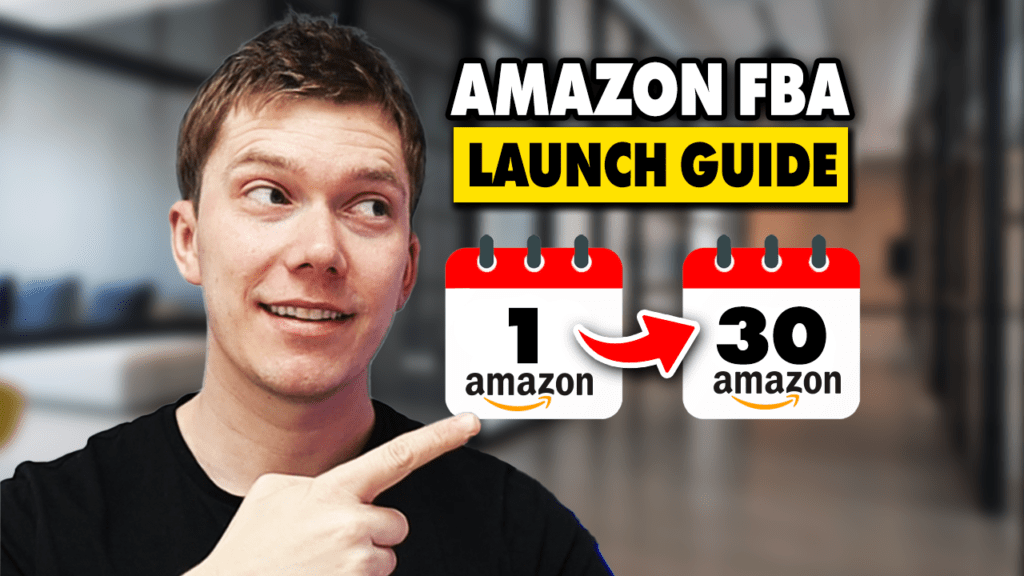
To solve this problem that so many people have, I’m going to be running through a 30-day Amazon FBA action plan that aims to guide you through process to the point of selling a small and inexpensive product order so that you can experience what it’s like to to start selling on Amazon FBA seller as quickly as possible. My aim is is to boost your confidence and motivation enough for you to take this business model seriously so that you don’t end up losing interest and giving up on what could potentially be a life changing income stream.
Let’s jump straight into my 30 day plan to get you selling with Amazon FBA.
Day 1 of 30: Creating A Business
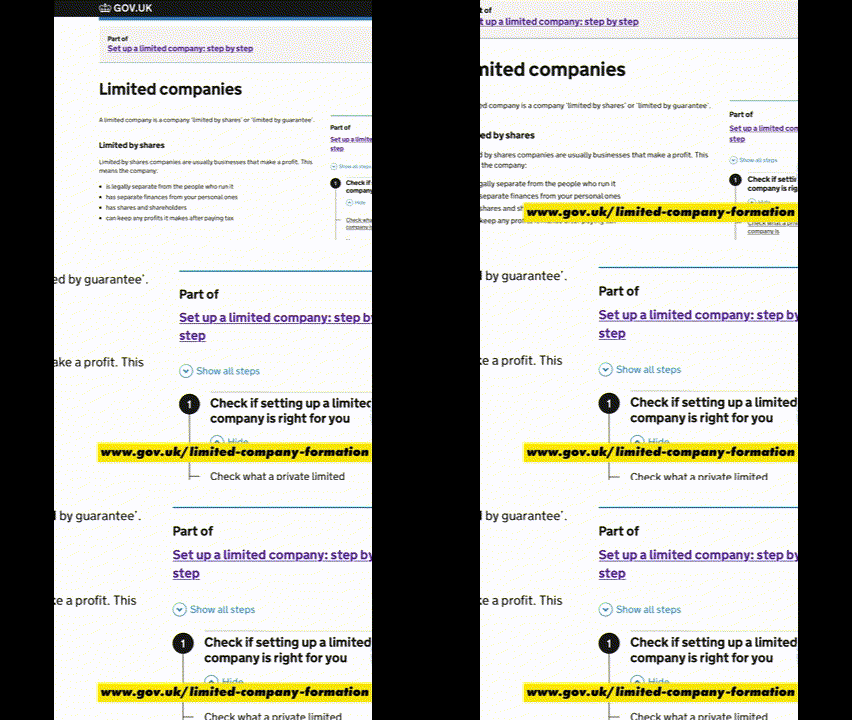
If you want to sell products with Amazon FBA, then you’re going to need an Amazon Seller Account as either a limited company or a sole trader. Most people choose to be a limited company because it’s more efficient when it comes to how much tax you’ll pay. Whilst creating your own company might sound like a daunting task, it’s actually not and nowadays you can set up for as little as £12 in a few short hours.
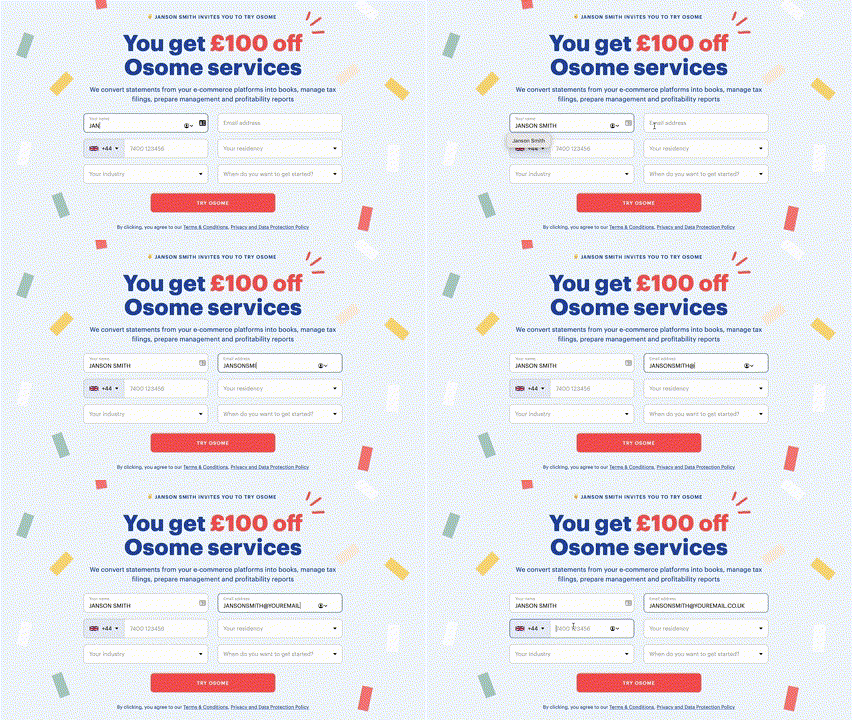
Depending how confident you are at filling out some basic company creation forms, either head to the government’s limited company creation site, fill out the form and then pay £12. If you’d prefer to get someone else to do it, then speak with an accountancy firm such as Osome who will fill the forms on your behalf and get everything processed in a couple of days.
Days 2-5: Looking For Product Ideas To Sell
Finding a long-term product to sell with Amazon FBA can take some people months to do, but because the process that we’re running through now is designed to get you to just experience what it’s like to be an Amazon FBA seller, we’re able to accelerate the process of finding a product to sell by focusing on 4 pieces of key criteria:
- The product sells at least 50 units a month
- There is at least one seller achieving that minimum sales threshold with no more than 50 reviews
- The product is profitable.
- It’s small enough to fit into a shoebox and lighter than 500 g so that we can ship it by air and start selling ASAP.
If you want to great products to sell with Amazon FBA, one of my favourite methods is with Helium 10’s Black Box tool, which allows you to search a huge product database and filter the results according to how much money sellers are making.
To use this tool, create an account with Helium 10, which you can currently do for free using this link, login, and then browse to the Black Box tool. Select the categories that you like the look of, input the target monthly revenue and price point of the product that you want to sell, and then press search. You’ll then be shown hundreds the different product ideas that have demand on Amazon, all of which you can consider selling.
As soon as you find a product that sells at least 50 units per month with fewer than 50 reviews, if it seems small & lightweight and you like the look of it, add it to your shortlist and repeat the process until you’ve got at least 5 different product ideas. Once that’s done, you can move onto the next step which is verifying that there are at least 5 other sellers within each niche that you’ve found, that are selling at least 50 units a month.
It’s super easy these days to find out exactly how many units of a product people are selling on Amazon. All you need to do is download the Helium 10 Chrome Extension, create an account, search for a product on Amazon, and then once the results have loaded, press the Helium 10 X-Ray button in the corner of the browser.

You’ll then be presented with a pop up that will tell you exactly how many units are being sold each month by every seller, as well as how much money they’re generating. This is an essential step to take in order to reduce the chances of you ordering a dud product that won’t sell, so make sure you never skip it.
Remember, the minimum amount of sales that we’re looking for in this case is 50 per month, coming from at least 5 different sellers!
Day 6: Creating Your Bank Account
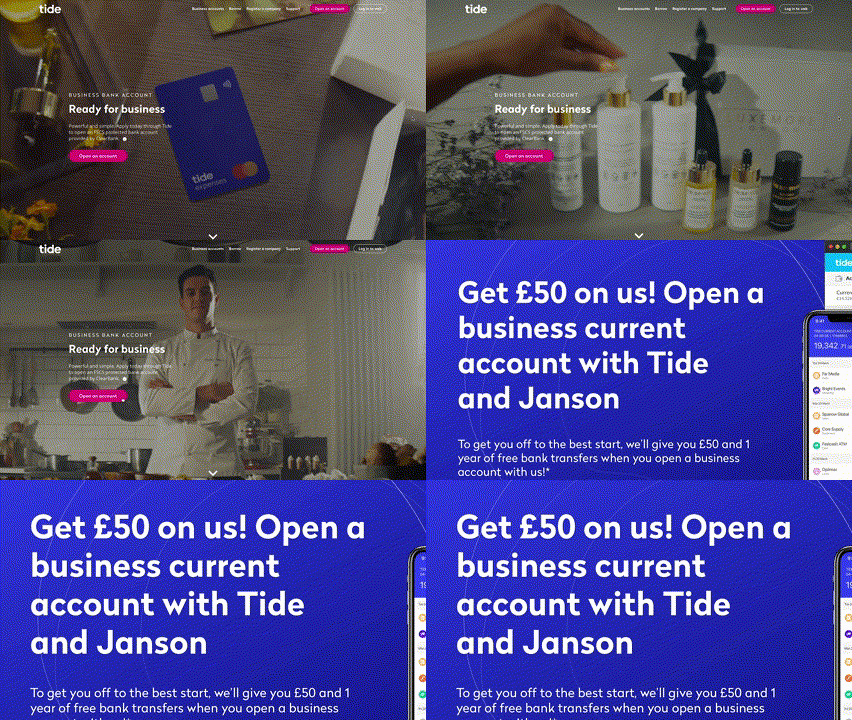
5 or 6 days after your limited company has been set up, you’ll be able to set up a business bank account which is needed in order to create your Amazon Seller Account. Whilst there are loads of different options to choose from, the best deal that I’ve seen is with Tide bank, who can give you £50 credit as soon as you deposit just £1. Just use this link to take advantage of this offer. As soon as your application is approved, which can take up to 5 working days, you’ll get your account number, sort code, and a digital debit card number ready, which means that you can move on to creating your Amazon sellers account.
Days 6-10: Contacting Suppliers
Once you’re happy with your product shortlist and you’ve verified that there’s demand from customers for at least 50 units a month, you can start reaching out to suppliers of your product in order to calculate profitability and assess whether the product is going to be feasible to sell.
Because we’re going to be making a small order of 50 to 100 units, customising the product and adding a brand to it isn’t going to be possible – but that’s not the purpose of our 30-day plan. Remember, the purpose of it is to go experience what it’s like to be an Amazon FBA private label seller to see if we like it. This is an experience that will ultimately boost our confidence and motivation and make us more likely to achieve success in the long run.
In order to find the suppliers that are more likely to allow you to place a small first order, head to Alibaba.com, and start searching for the supplier of the products that you’re considering selling.
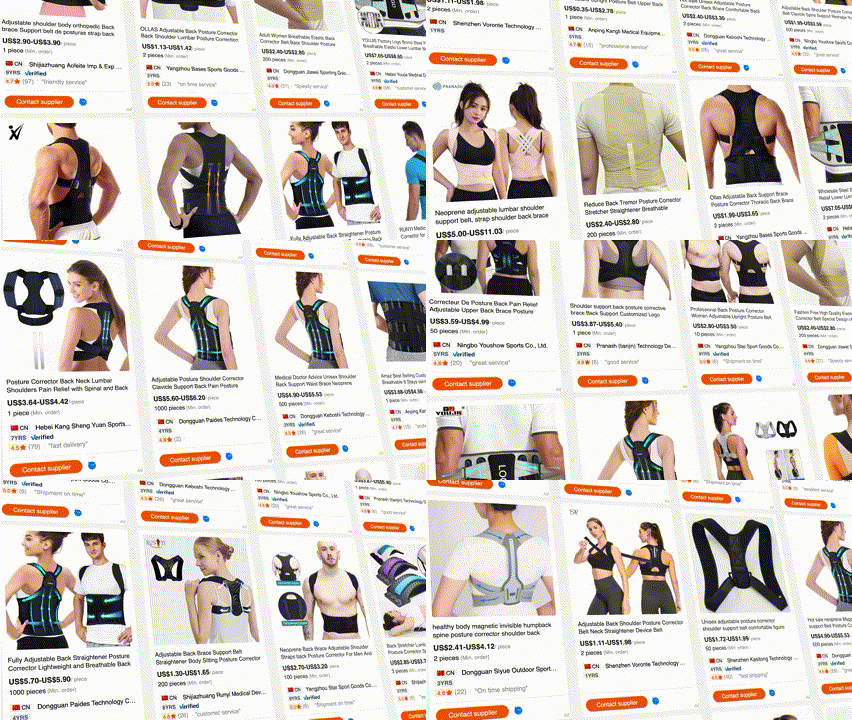
As soon as you find a supplier that has good reviews and a decent looking listing, message them and tell them that you’re a business looking to place a sample order of 50 to 100 units in order to assess quality and to test the marketplace that you’re intending on selling in. Make it clear that you don’t need them to customise the product, the order is purely to test the market.
Within your message to the supplier, you should ask them for the unit price and the shipping cost to an Amazon fulfilment center. Once they give you these figures, plug them into my profit calculator along with the expected Amazon fees, and make sure that the margin is at least 15%. This is actually lower than what I normally recommend, which is 30%, but given it’s just a test order to get you experience, we can be a bit more flexible with an acceptable profit margin.
Typically, most suppliers for selling Amazon FBA products can be found on Alibaba.com, but if you want to place a small order of 100 units or less, you may find that when you contact them, the suppliers don’t want to work with you because they don’t think you’re serious. If that happens, then the first thing to do is to explain to them that you’re an established business that hopes to place a much bigger order in the future once you’ve been able to test the market. If they still aren’t willing to sell you a lower quantity, try and find out why so that you can try to solve the problem.
For example, I had a scenario once where I wanted to buy 100 units, but the supplier said no because the minimum amount of packaging boxes that they would have to order to help me, was 500 units. To solve the problem, I offered to pay for 100 units and 500 packaging boxes, which they accepted. I was able to use the boxes for future orders, and even if I hadn’t, the average unit cost would have gone up by pennies. So, always try to dig deeper and find the reason that your supplier is pushing back.
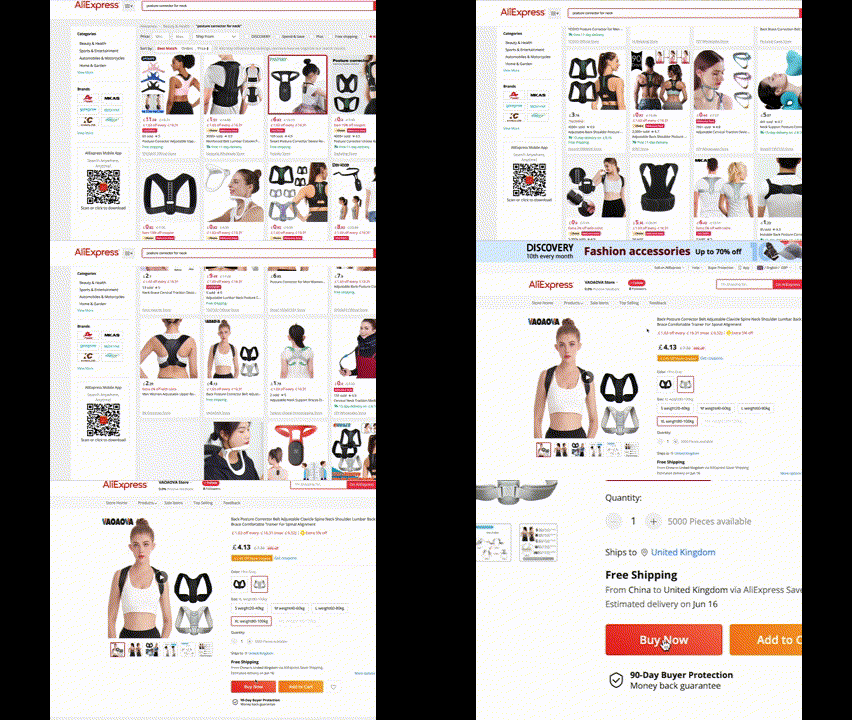
If they still won’t have it, then head to aliexpress.com where you’ll find the suppliers that are open to smaller orders. The downside is that the unit cost is likely to be a bit higher than on Alibaba, but at least it will allow you to make a smaller order.
Based on the responses that you get from the different suppliers that you message, assess which product from your shortlist that you have the most confidence in selling, and then let the supplier know that you want to place an order of 50 to 100 units.
Day 11: Creating Your Amazon Seller’s Account
By now your limited company should be set up, and your bank account created, which means you can set up your Amazon sellers account. The process isn’t as easy as it should be, so my one tip is to do it when you’ve had a good night’s rest and you’re able to think clearly. When asked what type of seller you are, select either sole proprietor, which means sole trader or private entity, which means you are a limited company. When filling out any other details that you’re asked for make sure you triple check that there are no spelling mistakes and that all of your details match.
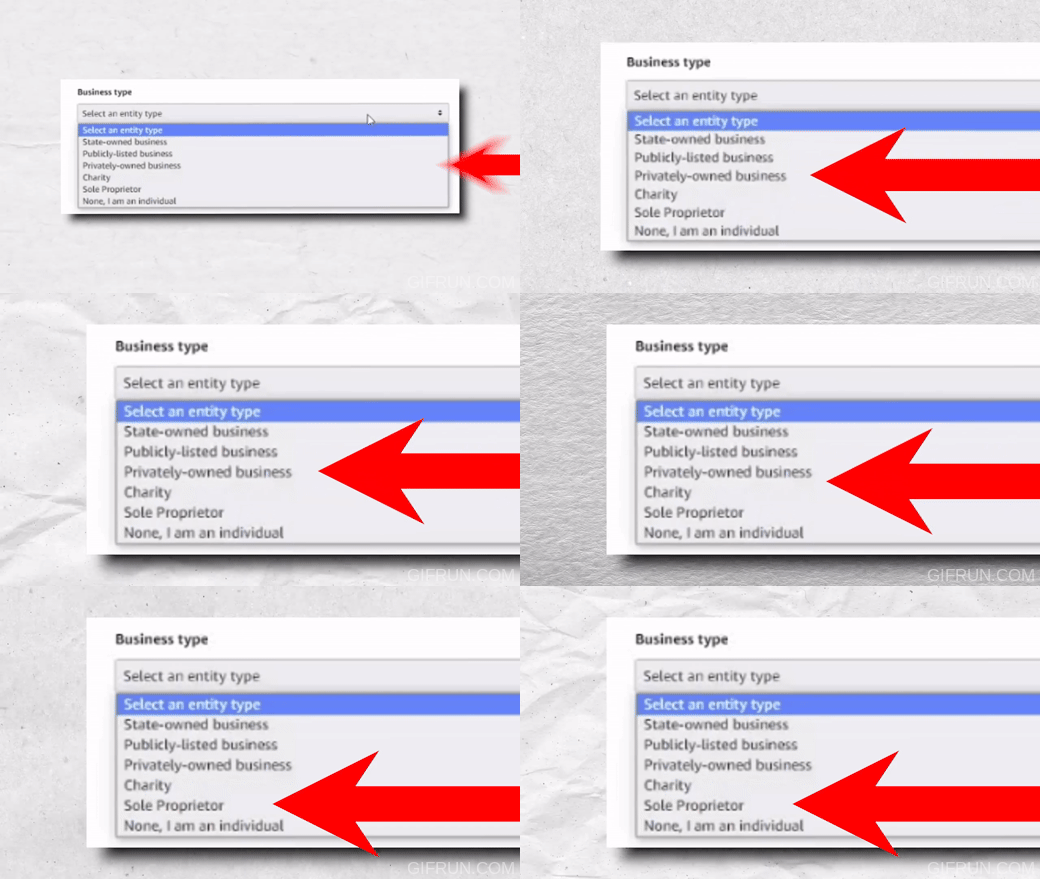
Failing to do that will mean that you won’t pass verification and therefore you’ll be unable to sell. But, provided that you take your time when filling out the registration form, and you ensure that you have your bank details, company name and debit card to hand, you should be accepted and ready to start selling after you’re verified, which usually takes 2 or 3 days.
Day 14-15: Creating Your Amazon Product’s Listing
Every Amazon FBA product has a product listing, which comprises of: a title, bullet points, description and pictures – all items that the customer will look through before deciding whether they want to make a purchase.
When putting your product’s listing together, make sure that everything that you write makes sense, and use your competitors for guidance on what to write. Don’t think that because this is a smaller order that you skip this part – having a compelling listing is going to make or break whether your experience is a good one, so take your time and do it properly.
Think about the problems that your product solves, why the customer should choose you over your competition, and then write it down. Including relevant keywords throughout the title, bullet points and so on is important to do, so use Helium 10’s Cerebro and Magnet tools to tell you what the right terms are.
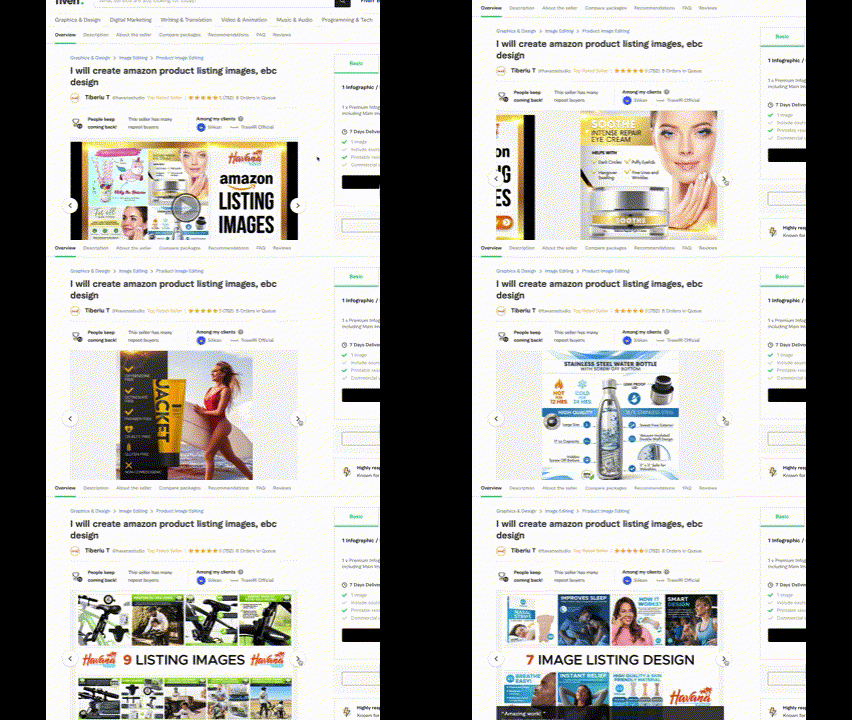
With pictures, you’re going to have to rely on your suppliers help. Ask them to send you what they’ve got – including any product renders that they might have – and as soon as they do, hire an image editor on Fiverr to tidy them up and make them look professional and compelling.
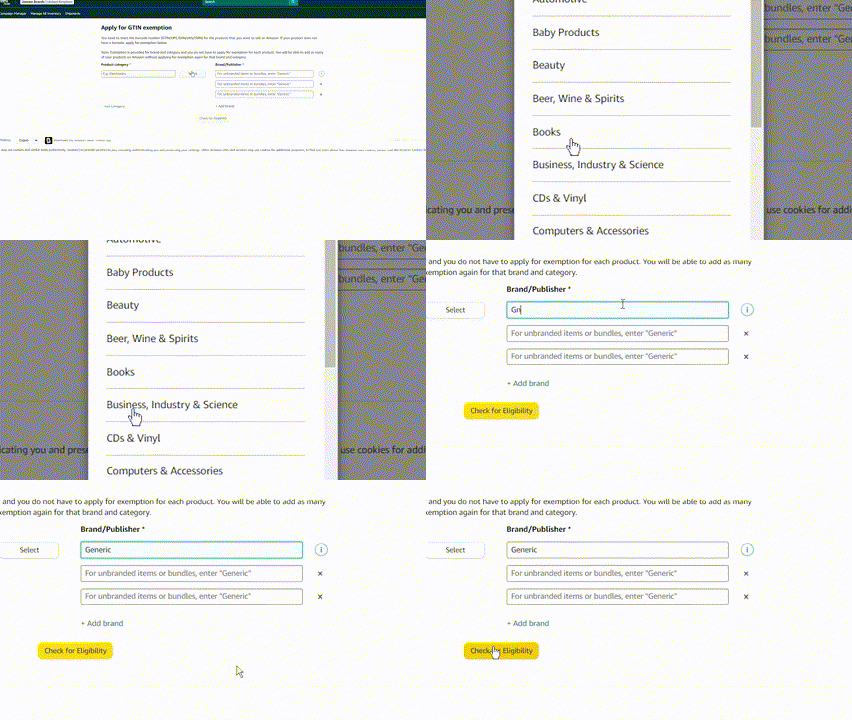
In order to bypass Amazon’s requirement to provide a barcode number when creating your listing, search the Amazon dashboard for the GTIN Exemption form, select the category that you want to sell in, and then apply for the brand name Generic. This should be approved instantaneously, and means you can list your product without any errors or approvals.
Day 16-18: Ordering & Sending Your Product To Amazon
Typically when an order is placed with a supplier, they’ll request a deposit of 50% up front, but given this is a small order, you may have to pay in full, which is acceptable. If you found your supplier on Alibaba then you can pay your deposit with your credit card for an extra layer of protection or a cheaper way is to do a bank transfer with a bank such as Wise.
Once your supplier has confirmed the goods are ready for dispatch – which shouldn’t take too long given the small order size and lack of customisation – ask them for the ‘packing list’ which describes the size and weight of the shipment. You’ll then need to tell Amazon that your product is ready and its on its way to their warehouse, which you can do by logging into Seller Central, browsing to the shipments tab, and then clicking ‘Send to Amazon’.
Input the number of units that you’re sending and the weight and dimensions of each box that’ll be holding your product, and once you’ve completed that, you’ll be given Amazon’s shipping labels, that you’ll need to send to your supplier to stick onto each box.
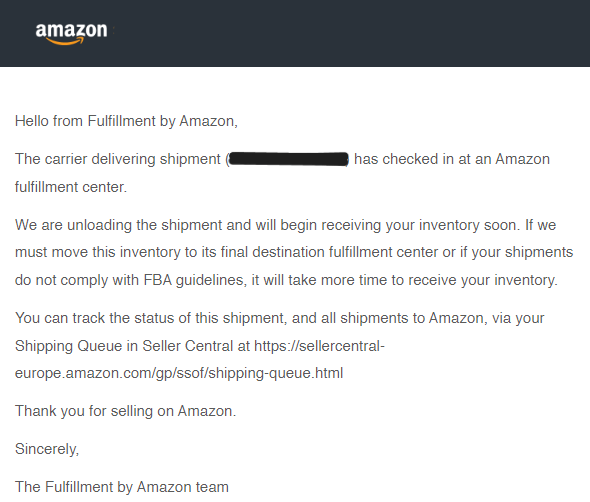
If you chose a product that’s small and lightweight, it should still be economical to ship by air, but if not, you can of course ship by sea. Just note that the shipping time with this method can be anywhere up to 6 weeks. If you’re shipping by air, then the shipping time shouldn’t be much more than 10 days or so. Regardless of which method you choose, as soon as Amazon receives your goods, you’ll receive an email notification saying that your shipment has been checked in, and that in a matter of days you’ll soon be experiencing what it’s like to be an amazon seller.
Day 30: Launching Your Product On Amazon
After a couple of days of waiting for Amazon to receive your product, a number of units should become available to customers to purchase. Once that happens, you’ll need to do a number of things to increase your product’s visibility and in order to start making sales.
To get your product seen by as many people as possible, throughout your entire Amazon selling careers you’ll need to make use of their advertising platform, which is Pay Per click, i.e., you’re only charged for an ad once a customer clicks on your listing. As you’ll be you’re new to advertising on Amazon and never experienced PPC before, my advice is to create an automatic campaign, which essentially lets Amazon determine when and where you appear in search results.
Start with a modest budget of £10 or $10 per day, and review your campaign’s performance each day by looking at the keywords that are getting you the most clicks. If they’re irrelevant or costing too much, then you can remove them from your campaigns so you don’t get charged for them anymore.
To increase your product’s conversion even further during your launch period, start selling with a lower price point versus your competitors. If you can give customers an immediate reason to buy your product versus your competitors, they’ll be left with no choice but to purchase from you, increasing your sales and your conversion, which will ultimately contribute to you appearing higher in the search results and generating sales very quickly.
Provided that your listing is good, your offer price is right, and your advertising campaigns are allowing customers to find you, there’s no reason why your product won’t sell out over the course of the next 6 weeks or so. Regardless of how quickly or how slowly it does sell, you’re going to be gaining a tonne of experience that you simply wouldn’t have gotten had you just sat on the sidelines trapped with analysis paralysis during your product research.
This 30-day plan might seem like its a lot to take in and something that’s quite difficult to follow, but once you’ve gone through this process the first time round and gained experience of being an Amazon seller, you’ll find it much much easier next time when you are looking for your long term product that you’re going to brand.
I started selling with Amazon FBA in 2018 with no experience and and I’ve since gone on to grow my business to generate 6 figures of profit per year. And if I can do it, so can you.
For more beginner tips, read the 5 things you need to know before starting Amazon FBA in 2023.
If you want to learn how you can create an Amazon FBA business yourself, then check out my free training where I’ll teach you everything you need to launch your first product on Amazon and scale to $5,000+ in monthly profit.
Or if you’re ready to begin your journey and want to start with the best chances of success, apply to become a member of HonestFBA’s training programme where you’ll receive guidance & support from our team of 7-figure Amazon FBA seller experts whenever you need it.


